What is Mocha?
Mocha is a testing library for Node.js. It is used to organize and execute unit and integration tests.
How to install Mocha:
You can install Mocha globally by running:
$ npm install -g mocha
Creating the First Project:
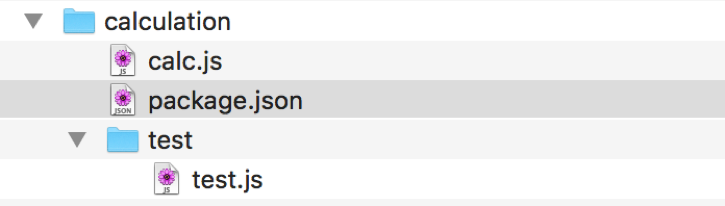
To start exploring Mocha, create a folder for your project. We’ll call it ‘calculation’. In the calculation folder, we’ll create a file named calc.js and a folder named test that is a standard place to put the Mocha test files. Within the test folder, create a file named test.js.
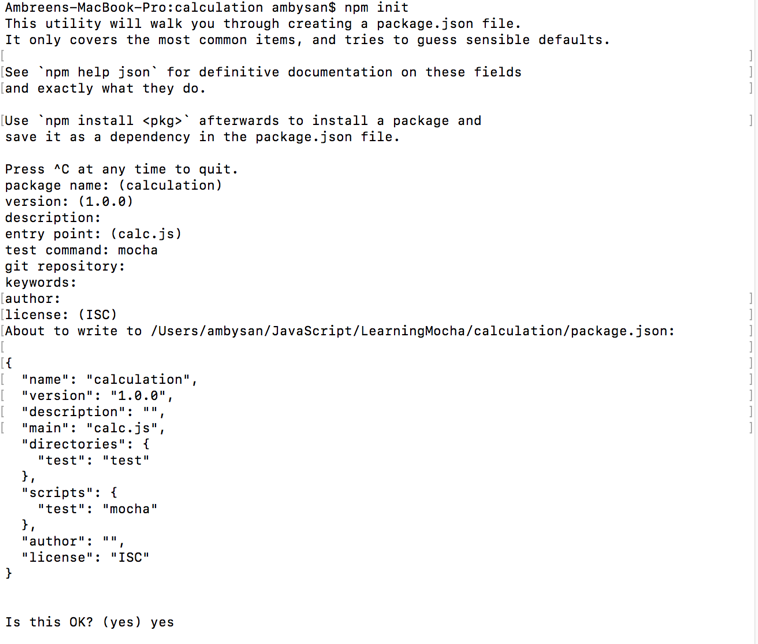
Now we’ll use npm’s init command line option that is a simple way to create a package.json file for any project.
$ npm init
Answer the questions and hit enter. For question ‘test command:’ respond to with ‘mocha’. This allows running mocha by simply typing npm test.
When finished, this is how the folder structure will look like:
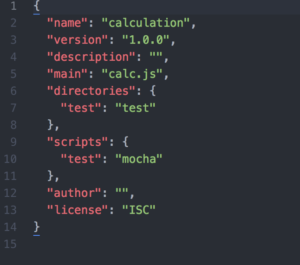
Your package.json file should contain the following json:
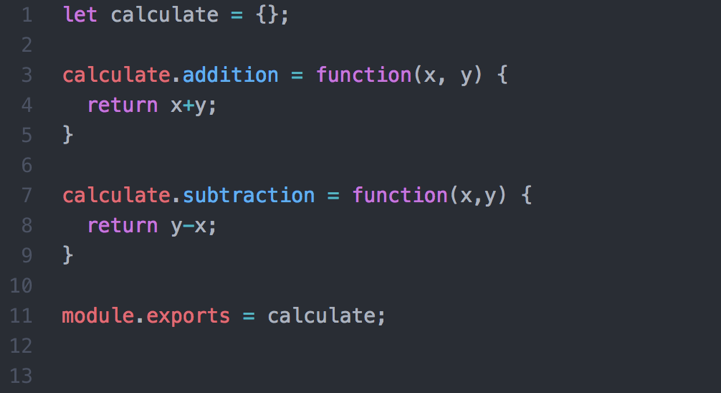
We’re going to test calc.js file. Our calc.js file will have below code and performs simple addition and subtraction functions:
How Mocha Tests are structured?
Before we write our tests, it is important to understand how Mocha tests are structured. In Mocha, there are two basic function calls:
- describe() is simply a way to group our tests in Mocha and gives us the ability to describe the features that we are implementing. We can nest our tests in groups as deep as we want and that allows us to better organize our test cases.
describe() takes two arguments, the first is the name of the test group that describes the feature, and the second is a callback function that provides the body of the description.
describe('string name', function(){

  // can nest more describe()'s here, or tests go here

});
- it() is used for individual test cases. It is very similar to the describe function, except that we can only put expectations in the body of the it function. it() takes two arguments, a string explaining what the test should do, and a callback function which contains our actual test:
it(test should do so and so', function(){

  // Actual test case goes here

});
Using Assertion Libraries:
An assertion library is a tool to verify the test results. Mocha allows you to use any assertion library you like. You can use libraries such as:
In our example, we are going to use Node.js built-in assert module, therefore, we need the line:
var assert = require('assert');
There are a number of different assertion tests that can be performed with assert. The one we are using is assert.equal(actual, expected); This tests equality between our actual and expected parameters using double equals (==).
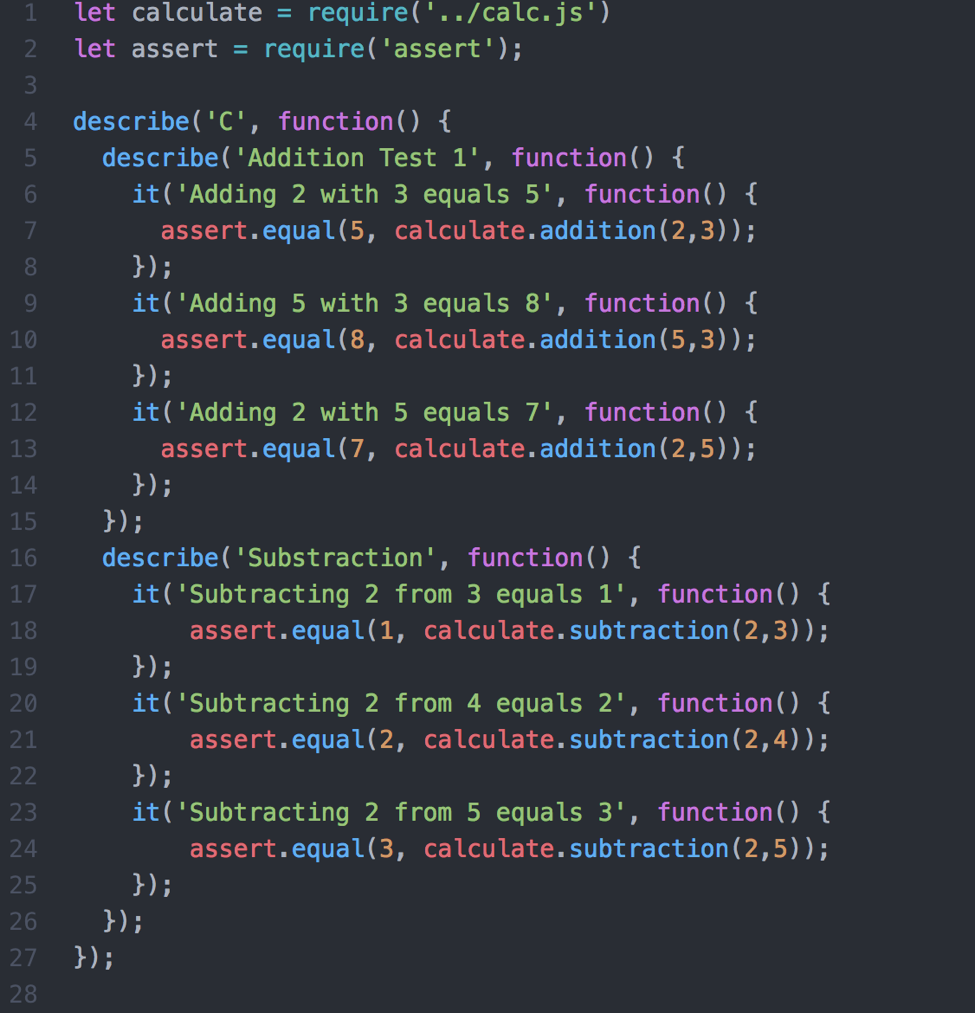
Now we are ready to write test in our test.js file as shown below:
Running the test:
Now is the time to run our test by using npm test
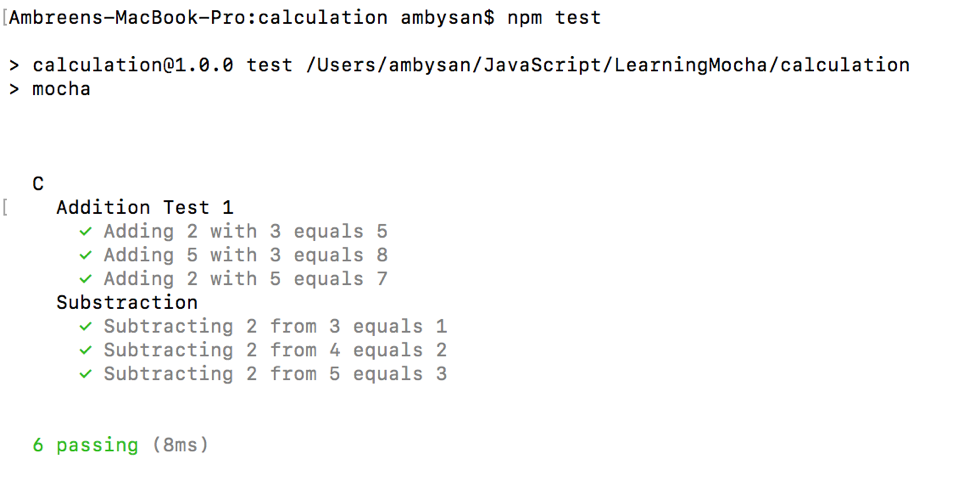
Yeah…everything worked as expected and our tests have passed 🙂

Please comment with your real name using good manners.